Create and deploy a macOS configuration profile (.mobileconfig)
This post covers a workflow to:
- Create a macOS configuration profile (
.mobileconfig) with iMazing Profile Editor. - Deploy it using an MDM (Microsoft Intune in this example).
The workflow applies to many apps and macOS features. For this post, we’ll use DDM OS Reminder as the example payload.
What is a .mobileconfig?
A .mobileconfig is an Apple configuration profile used to configure settings on macOS (and other Apple platforms).
Technically, it’s a plist document that contains:
- One or more payloads (plist dictionaries of key:value pairs)
- Profile metadata such as a name and identifier
- An optional signature (typically handled by the MDM, so you usually don’t need to sign it yourself)
What you’ll need
- A Mac (or PC)
- iMazing Profile Editor
- Admin access to Microsoft Intune (or another MDM)
1. Install iMazing Profile Editor
iMazing Profile Editor provides an easy-to-use GUI for creating and editing .mobileconfig files. It uses a fork of the ProfileManifests repository to provide a UI for many community macOS payloads.
2. Add a payload
In iMazing Profile Editor, a payload is the set of configuration keys for a specific feature or app.
Example (DDM OS Reminder):
- Open iMazing Profile Editor.
- Scroll until you find DDM OS Reminder.
- Select it and press + Add Payload.
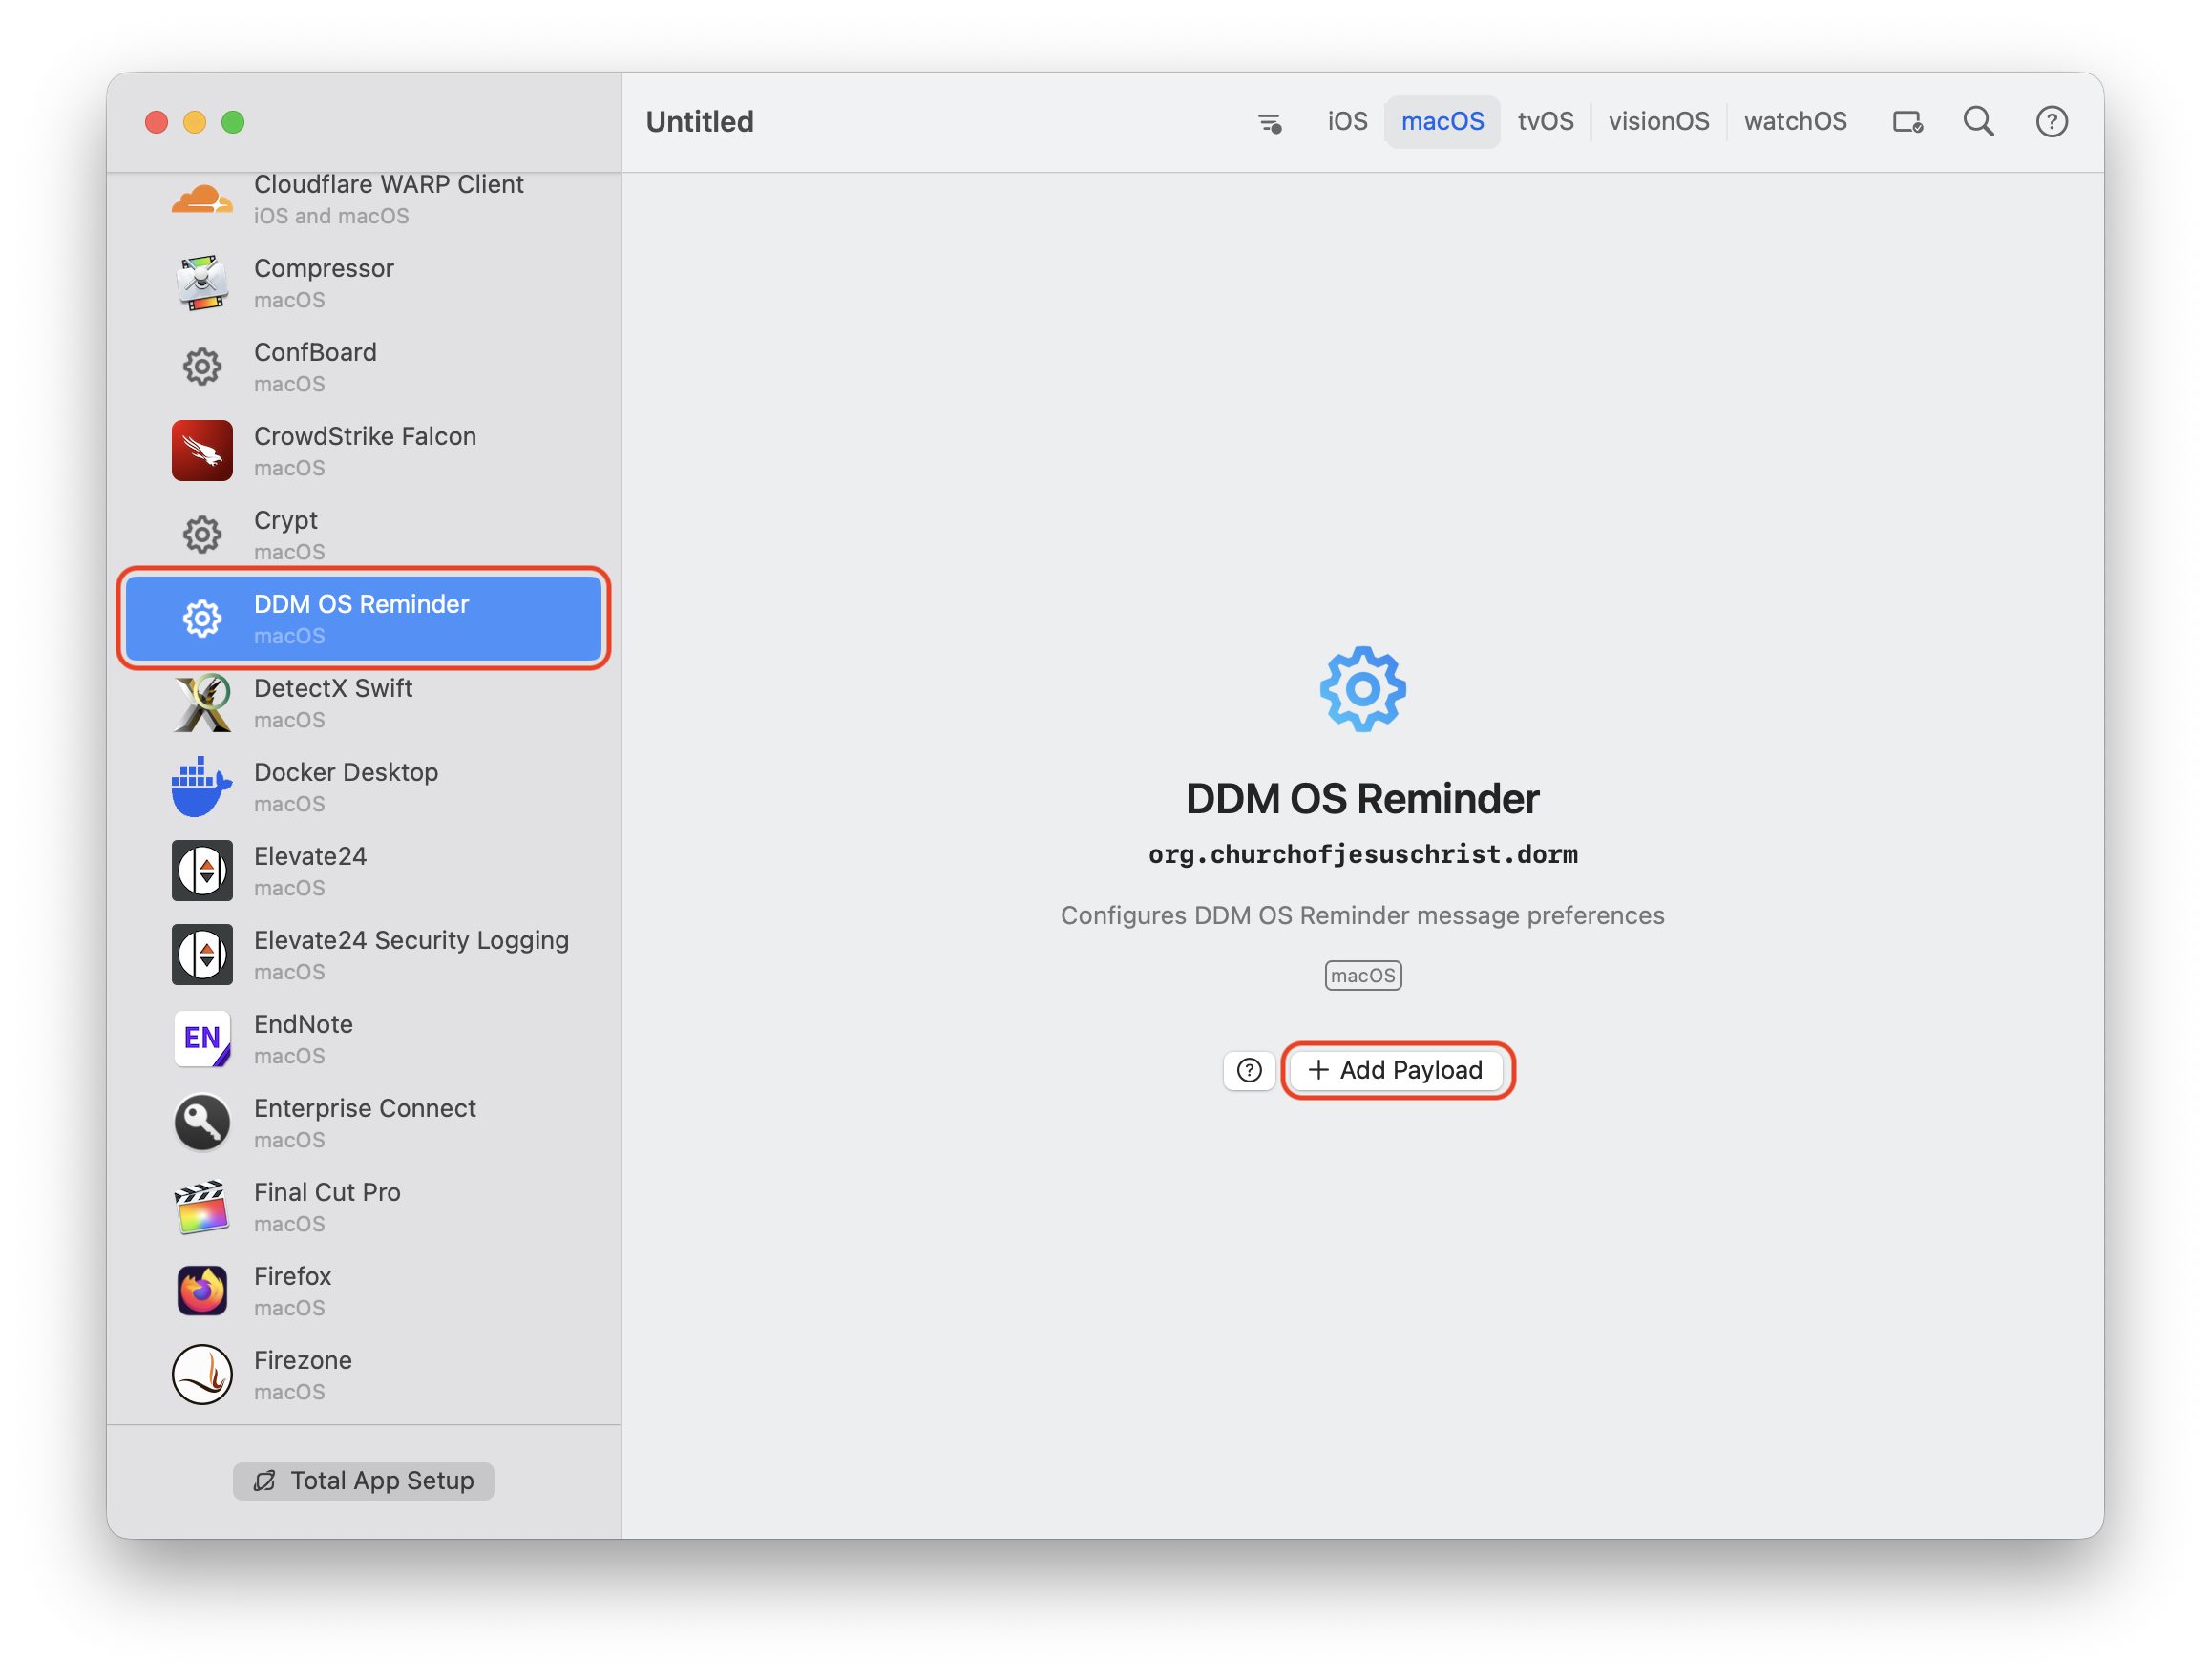
Tip: You can search by pressing the magnifying glass in the top-right corner, or by selecting any payload in the left sidebar and typing the first letters of the payload name.
3. Configure the payload
Configure the keys you care about for the payload you added.
For the example (DDM OS Reminder), all keys are optional; leave a value empty to use the default.
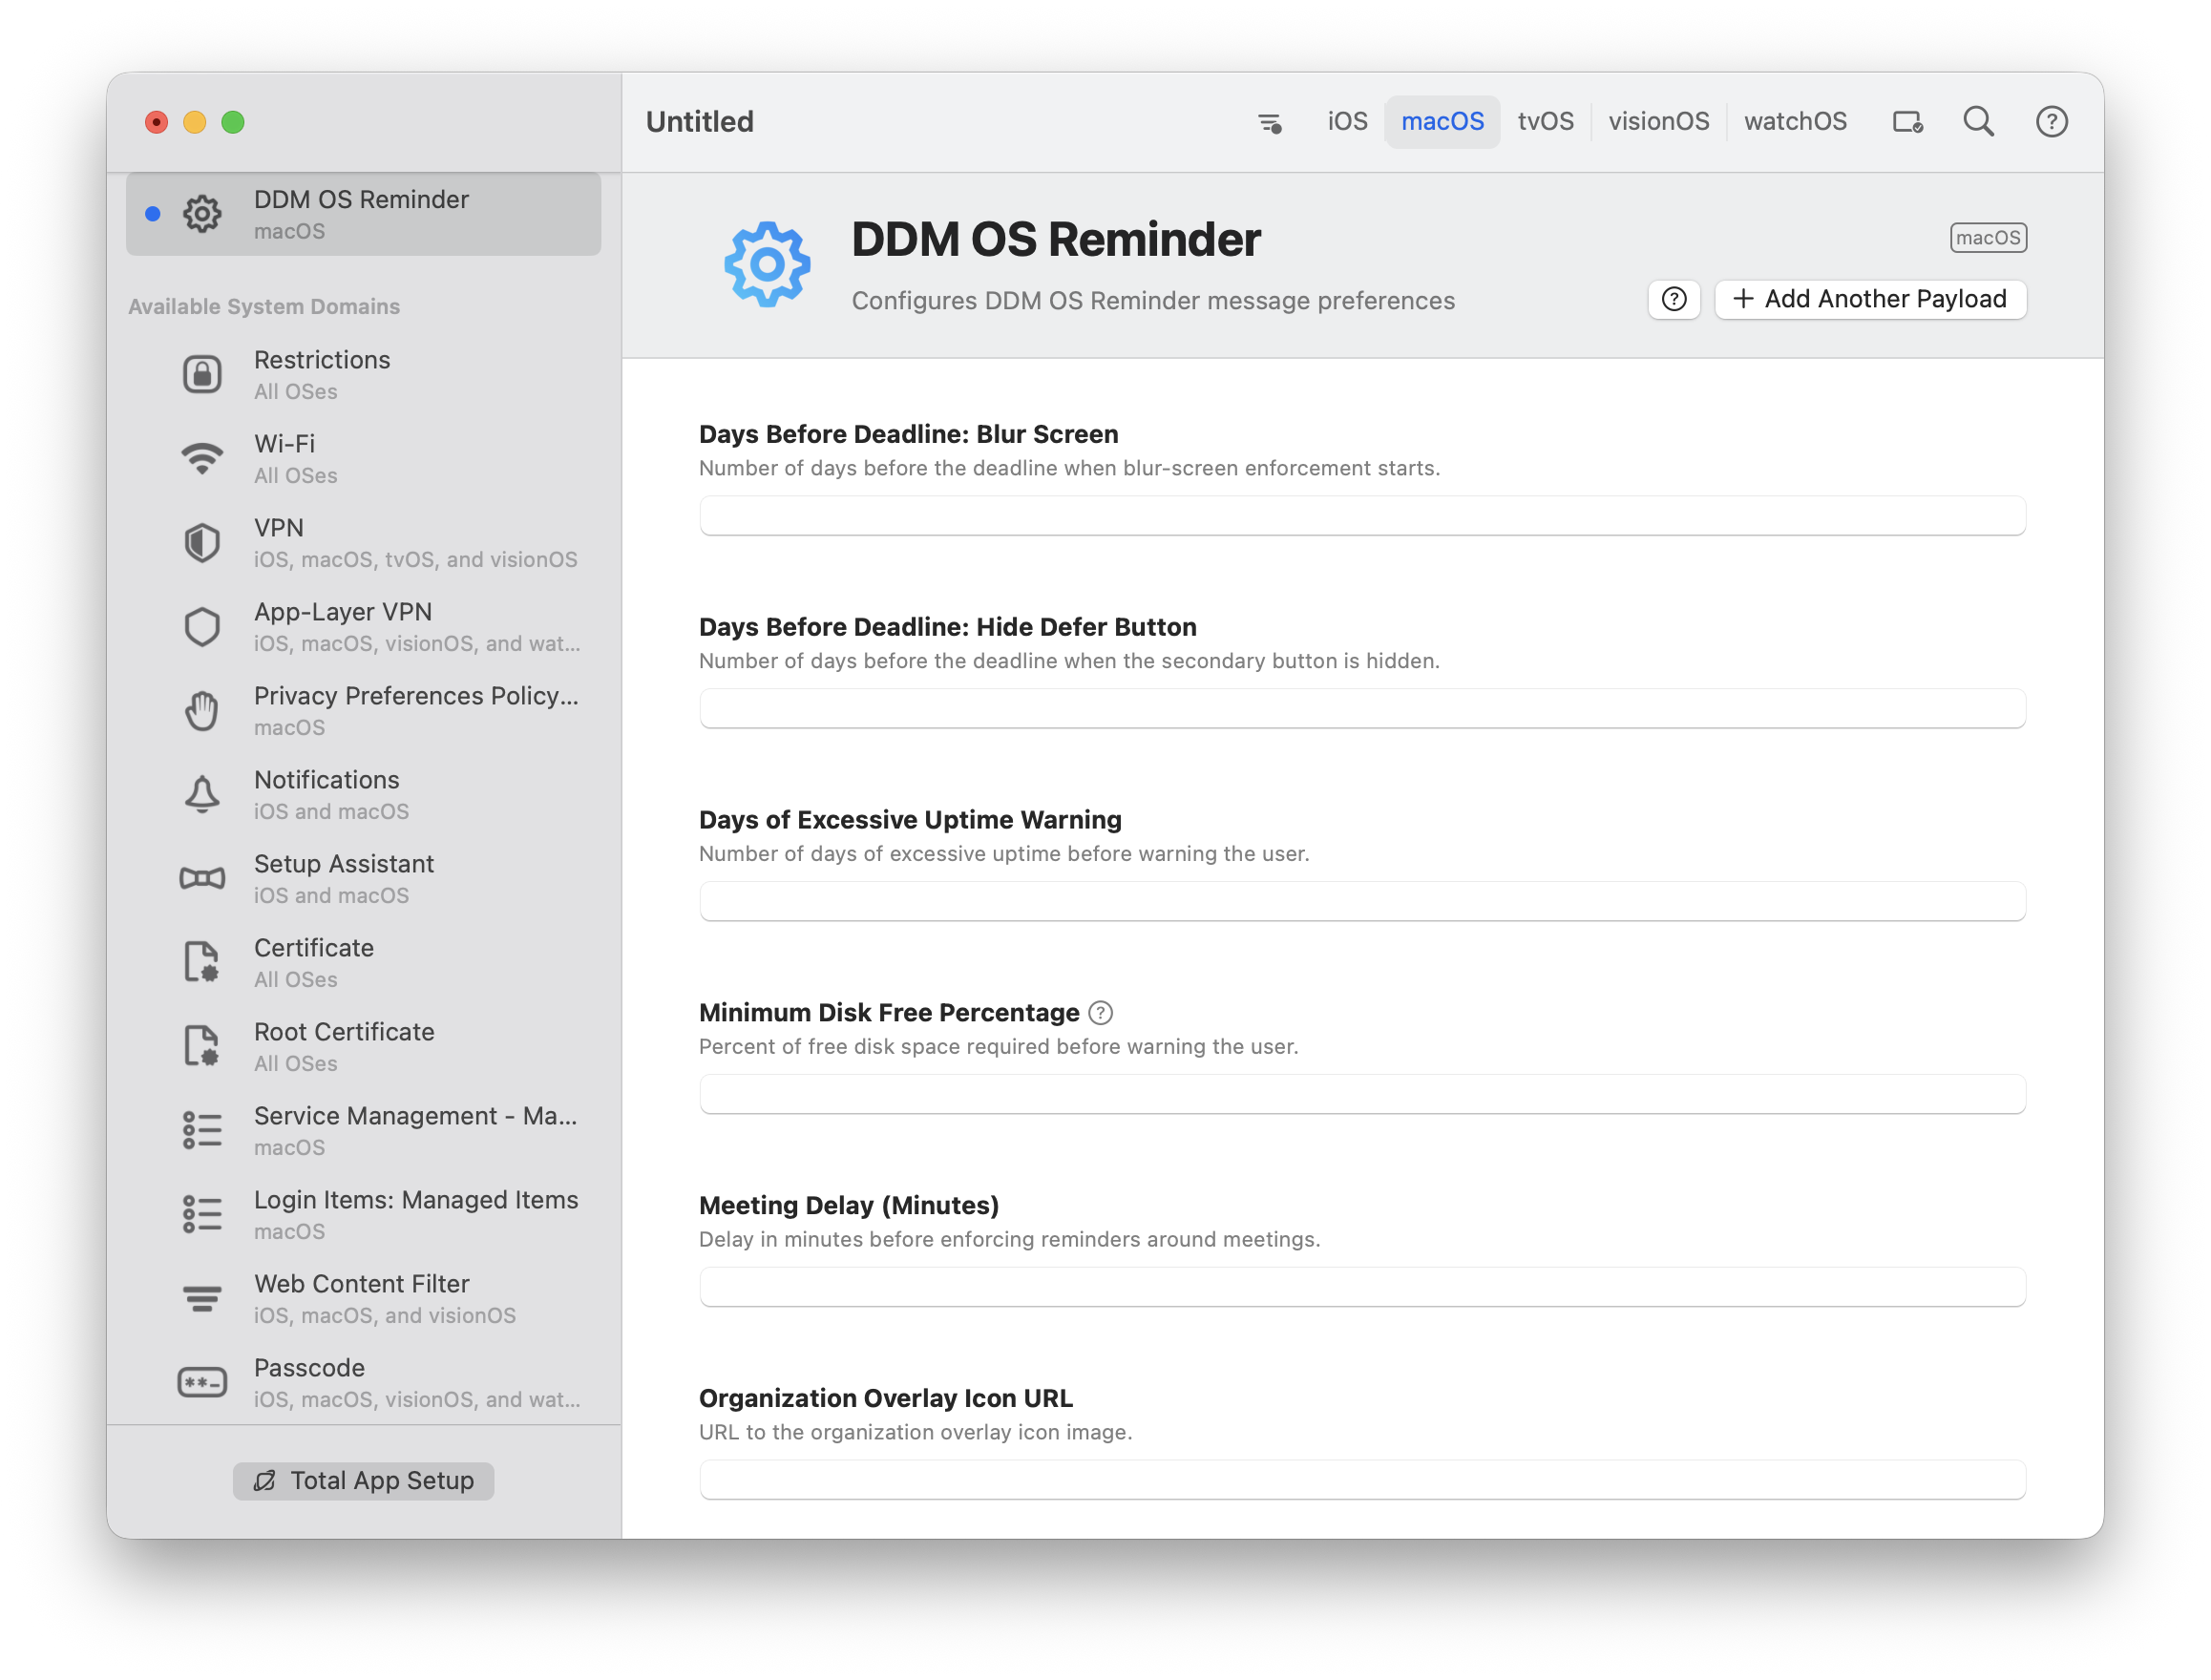
Tip: Hover over the ? next to each key to see details and the default value.
4. Save the profile
Save the .mobileconfig via the top menu.
5. Create the policy in Intune
The deployment flow is similar in other MDM solutions: create a custom profile policy, upload the .mobileconfig, then assign it to your target devices/users.
- In Intune, go to Devices → macOS → Configuration.
- Press Create → New policy.
- Under Profile type, select Templates.
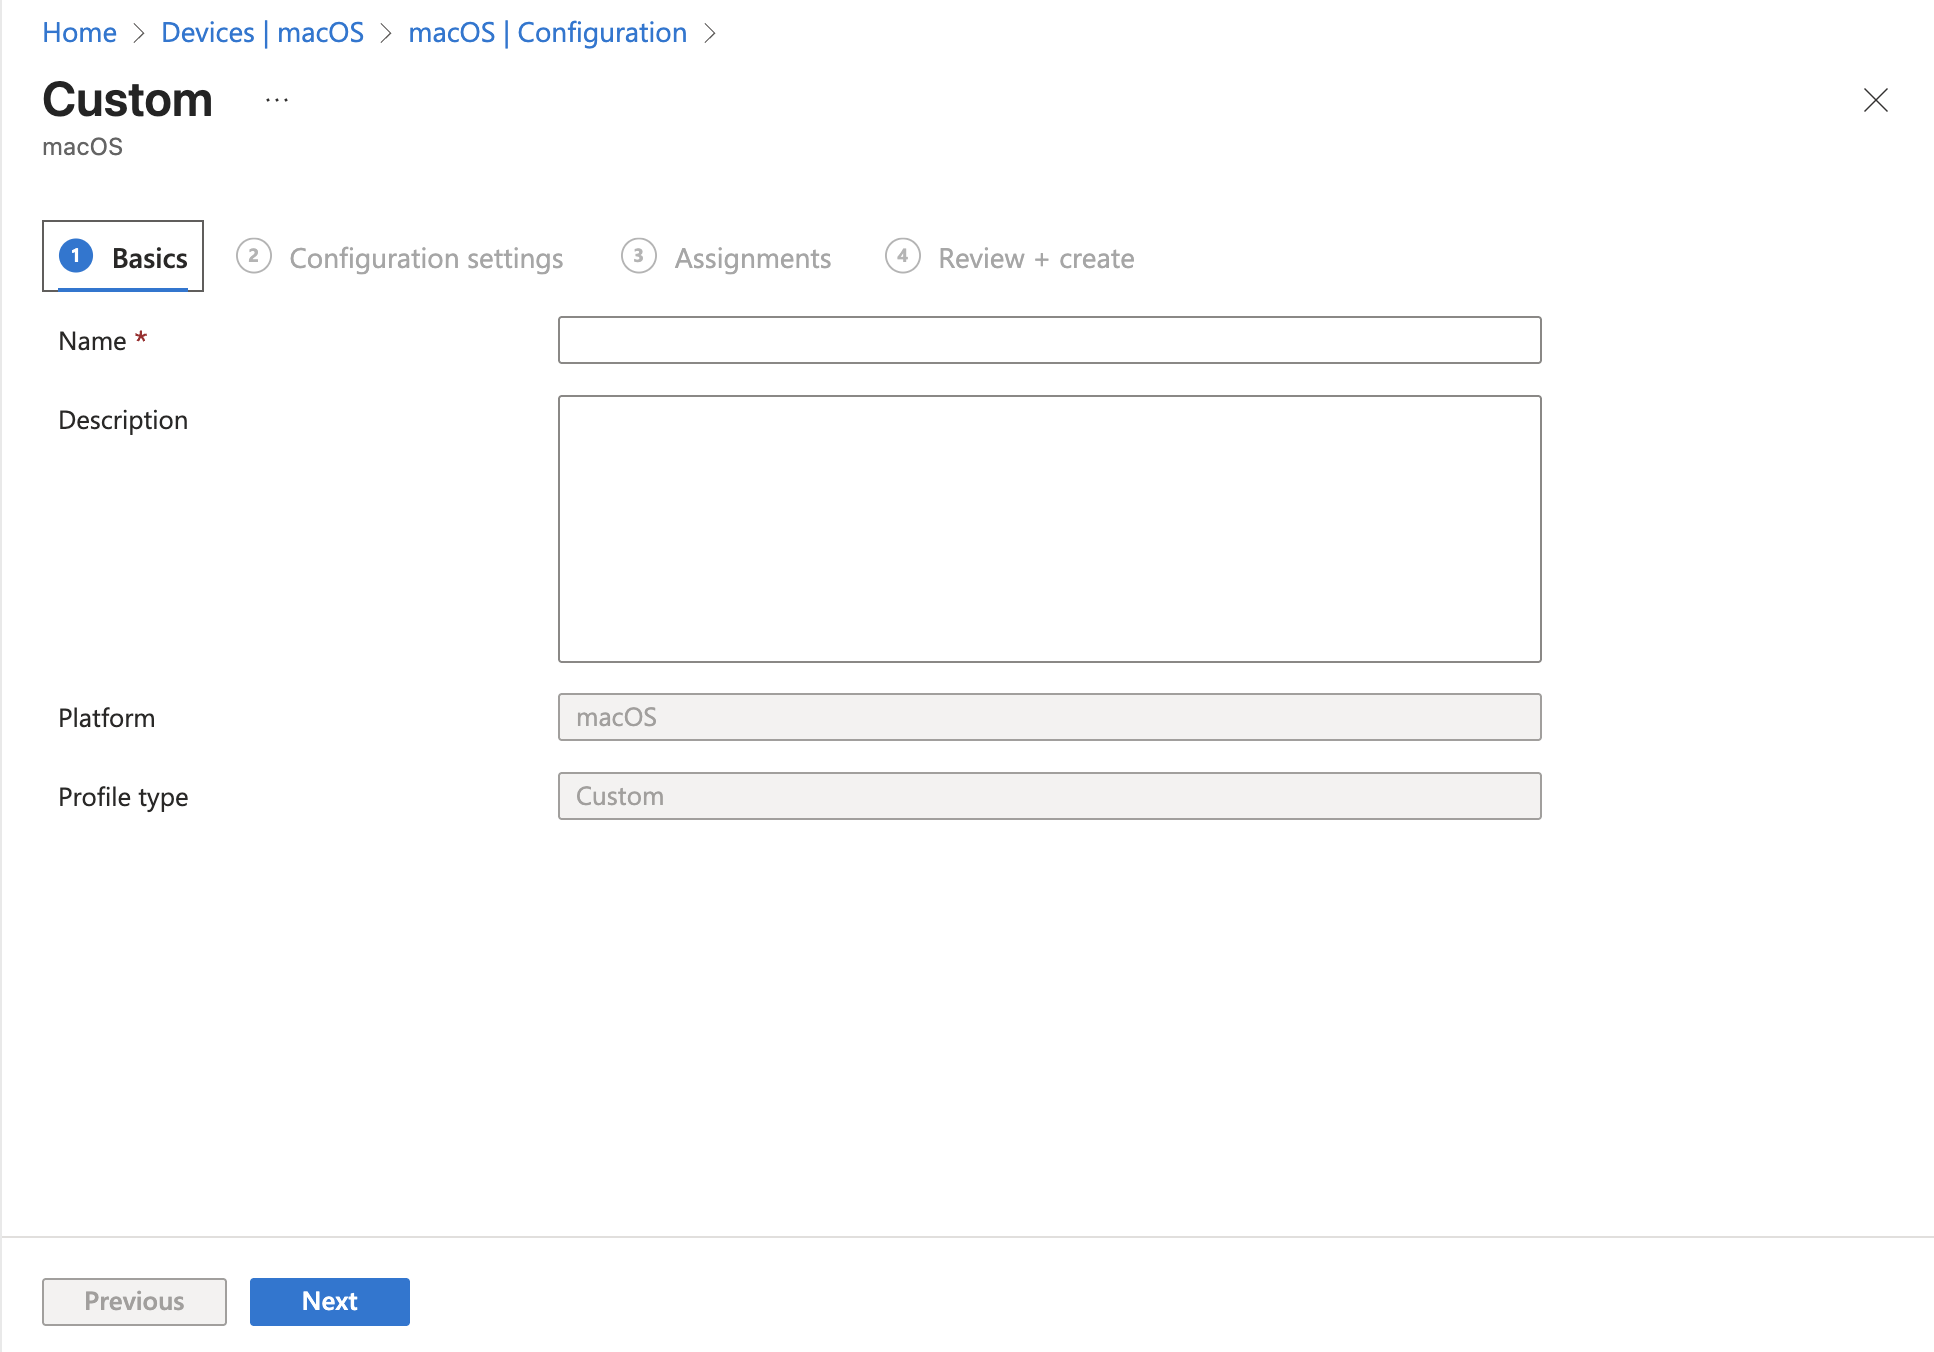
- Select Custom.
- Set an Intune policy display name (shown in Intune), then press Next.
6. Configure and assign the policy
- Set a Custom configuration profile name (shown locally under System Settings → Device Management).
- Leave the deployment channel as Device Channel.
- Upload the
.mobileconfigyou created. - Press Next, choose your Assignment Groups, and press Create to publish the policy.

Bonus tip: Use local preference manifests
Sometimes the DigiDNA/ProfileManifests repo may be out of date. If you want to create a .mobileconfig using a local preference manifest provided by the developer, you can set a custom override.
- Go to iMazing Profile Editor → Settings… in the menu bar.
- Go to Manifests → Local folder for custom and override preference manifests → Choose…
- Select the folder where you’ll store your custom preference manifest overrides.
- Place your
.plistpreference manifests in the chosen folder. iMazing Profile Editor will automatically match the app based on the application domain in the file name.
